Give new life to small boxes or foam scraps from packaging by transforming them into a stacked box Christmas tree decoration perfect for a table or mantel.
If you caught my previous post, you know I've decided to simplify the holidays this year and focus only on what truly matters to me and my family, letting go of the rest.
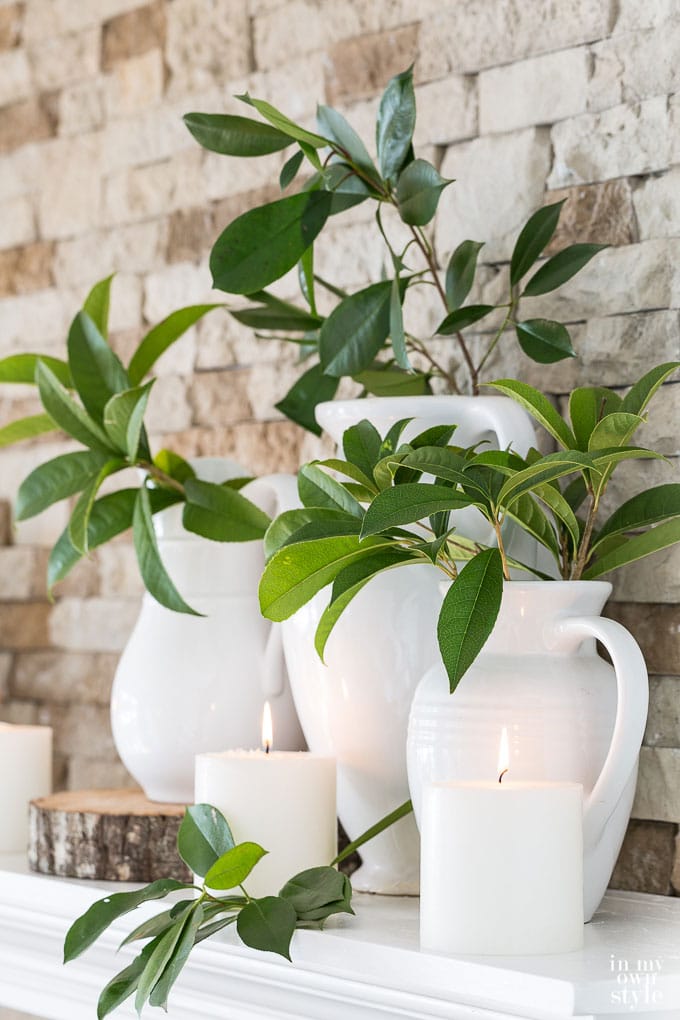
One part of that plan is reducing the number of decorations around the house while incorporating more natural elements.
Today, I'm sharing a project I made to complement some of those natural accents.
I'm also joining a Christmas craft blog hop with fellow DIY bloggers, so if you enjoy making your own holiday decor, you'll find plenty of fresh inspiration here.
When crafting my own Christmas decorations, I love blending vintage touches with a bit of glitter—sometimes a generous amount. For this stack of tiny boxes shaped like a Christmas tree, I incorporated both.
A few years ago, I created a printable PDF of French Script to use on computer paper for a paper holly garland. I also used it to cover books that lift lamps on my foyer sideboard.
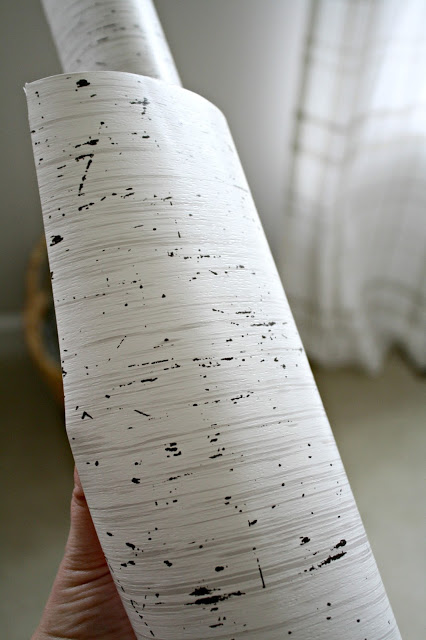
Since I still adore that pattern, I decided to print a few sheets to wrap a set of different-sized boxes and create this stacked decoration for a table or mantel.
Whenever I make my own decor, I explore several ways to execute the idea. When I can't choose, I often make both versions. That's exactly what I did here: I crafted the stacked boxes two different ways so you can pick what suits your style or adapt it to your needs.
How to Make a Stacked Box Christmas Tree
Supplies needed:
- Small boxes in various sizes or foam pieces cut into box shapes
- Free printable French Script paper – Download here: Free French Script Paper
- Double-sided tape
- Hot glue gun and glue sticks
- Spray adhesive
- White glitter
- Scissors
- Velvet ribbon – I found mine at TJ Maxx
Optional:
- Thin dowel – mine is 18 inches long
- Awl
- Spray paint, planter, and greenery
- Download and print one sheet of French Script paper for each box.
- Wrap each box like a gift, securing ends with double-sided tape.
- Spray adhesive all over the box, then place it in a tray or container to catch glitter as you sprinkle it generously. Pour excess glitter back into the jar.
Repeat these steps for every box.
If Stacking Boxes on a Dowel
- Once boxes are wrapped and glittered, use an awl to poke a hole through the center of each box from top to bottom.
- If you want to place the stack on top of a planter, insert a spray-painted dowel into foam inside the planter to secure it. Add greenery around the base.
- Thread the boxes onto the dowel, starting with the largest at the bottom and ending with the smallest on top. I stacked them directly on each other, but you can leave gaps between boxes for a different look that shows the dowel—this gives a topiary effect.
- Tie a ribbon bow and attach it to the top box with a dab of hot glue. Trim the ribbon ends.
Optional Topper Idea for Stack of Boxes
Instead of a ribbon bow, glue a glittered pinecone to the top of the stack.
Where to Use the Vintage Box Christmas Tree
I thought the stack of boxes placed on a planter filled with greenery looked lovely on my mantel next to a small Christmas tree.
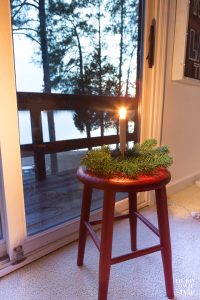
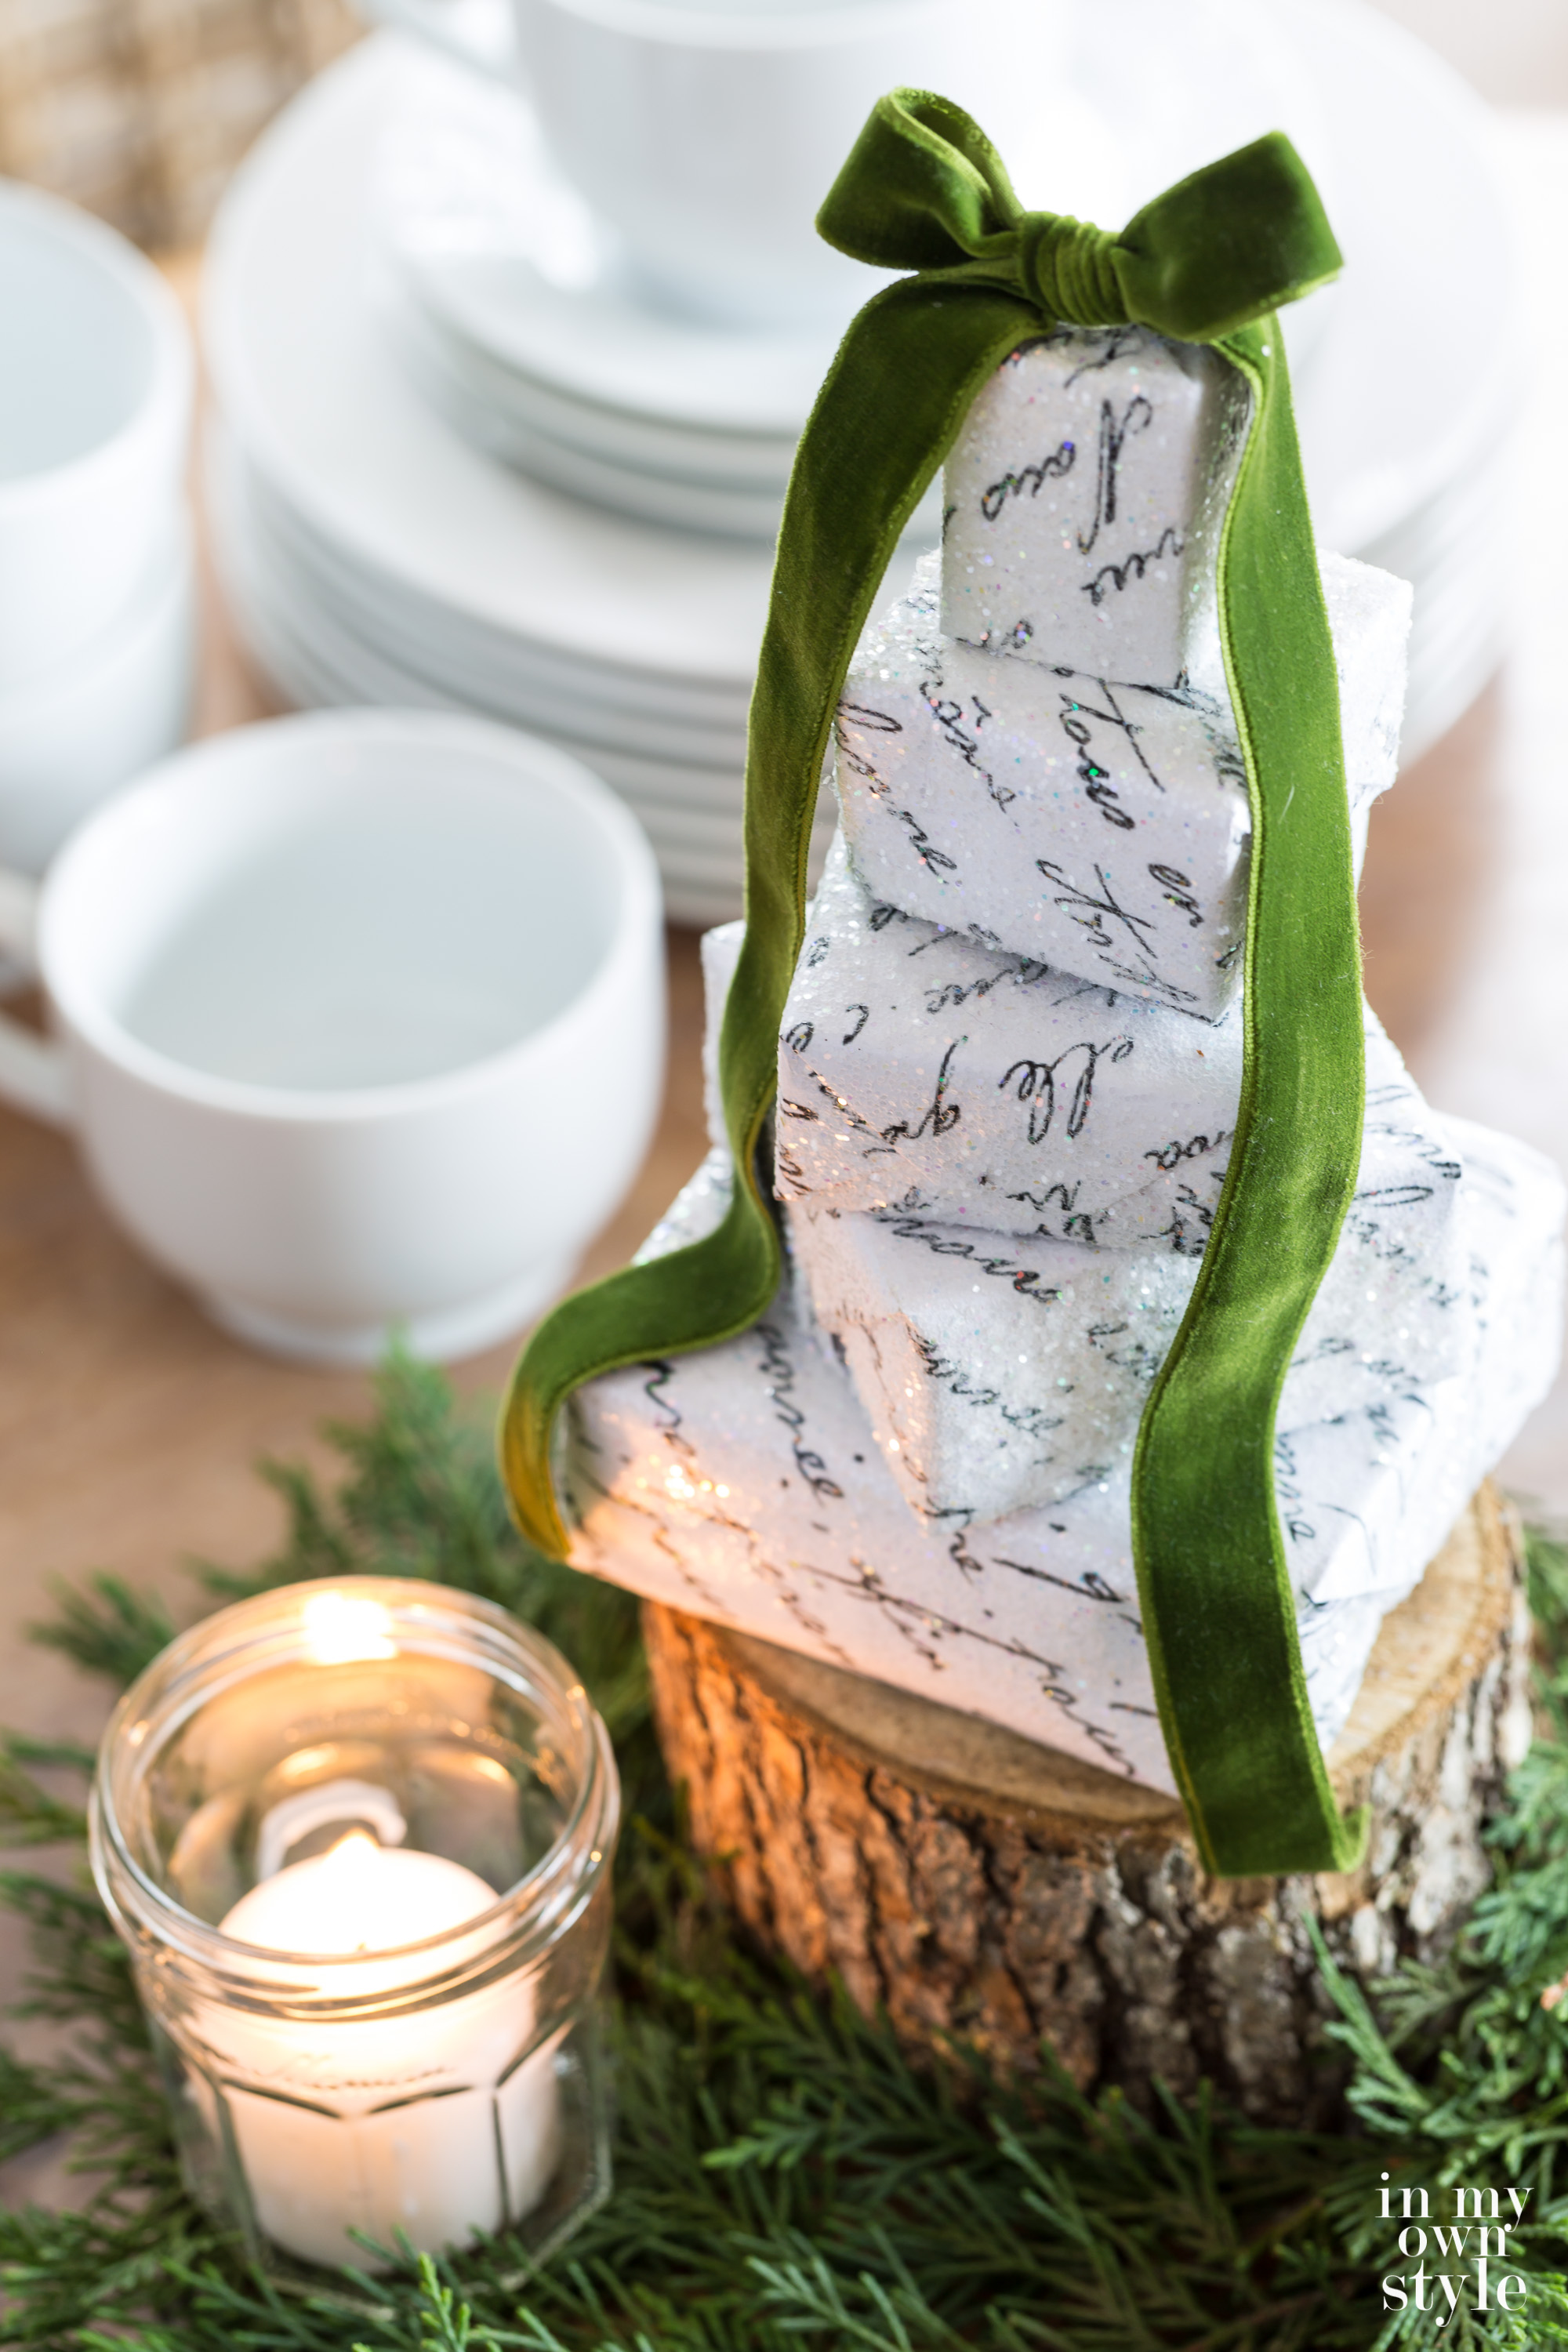
When using this as a dining table centerpiece, skip making holes in the boxes and simply glue them together. Set the stack directly on the table. For extra height, place it on a small pedestal or a stack of books. I put mine on a wood slice with greenery from my yard.
Whichever way you choose to style and display it, this is an easy way to craft a unique Christmas decoration that adds festive cheer without demanding too much time or effort.
Another idea just came to me as I typed this: you can fill each box with a small gift and give the whole stack as a creative way to present several little presents to one person.
If you love making your own Christmas decorations, you'll find plenty of inspiration and clever DIY projects in today's Seasonal Simplicity Christmas DIY craft blog hop.
Keep Kalm or How to Calm Your Nerves at Work