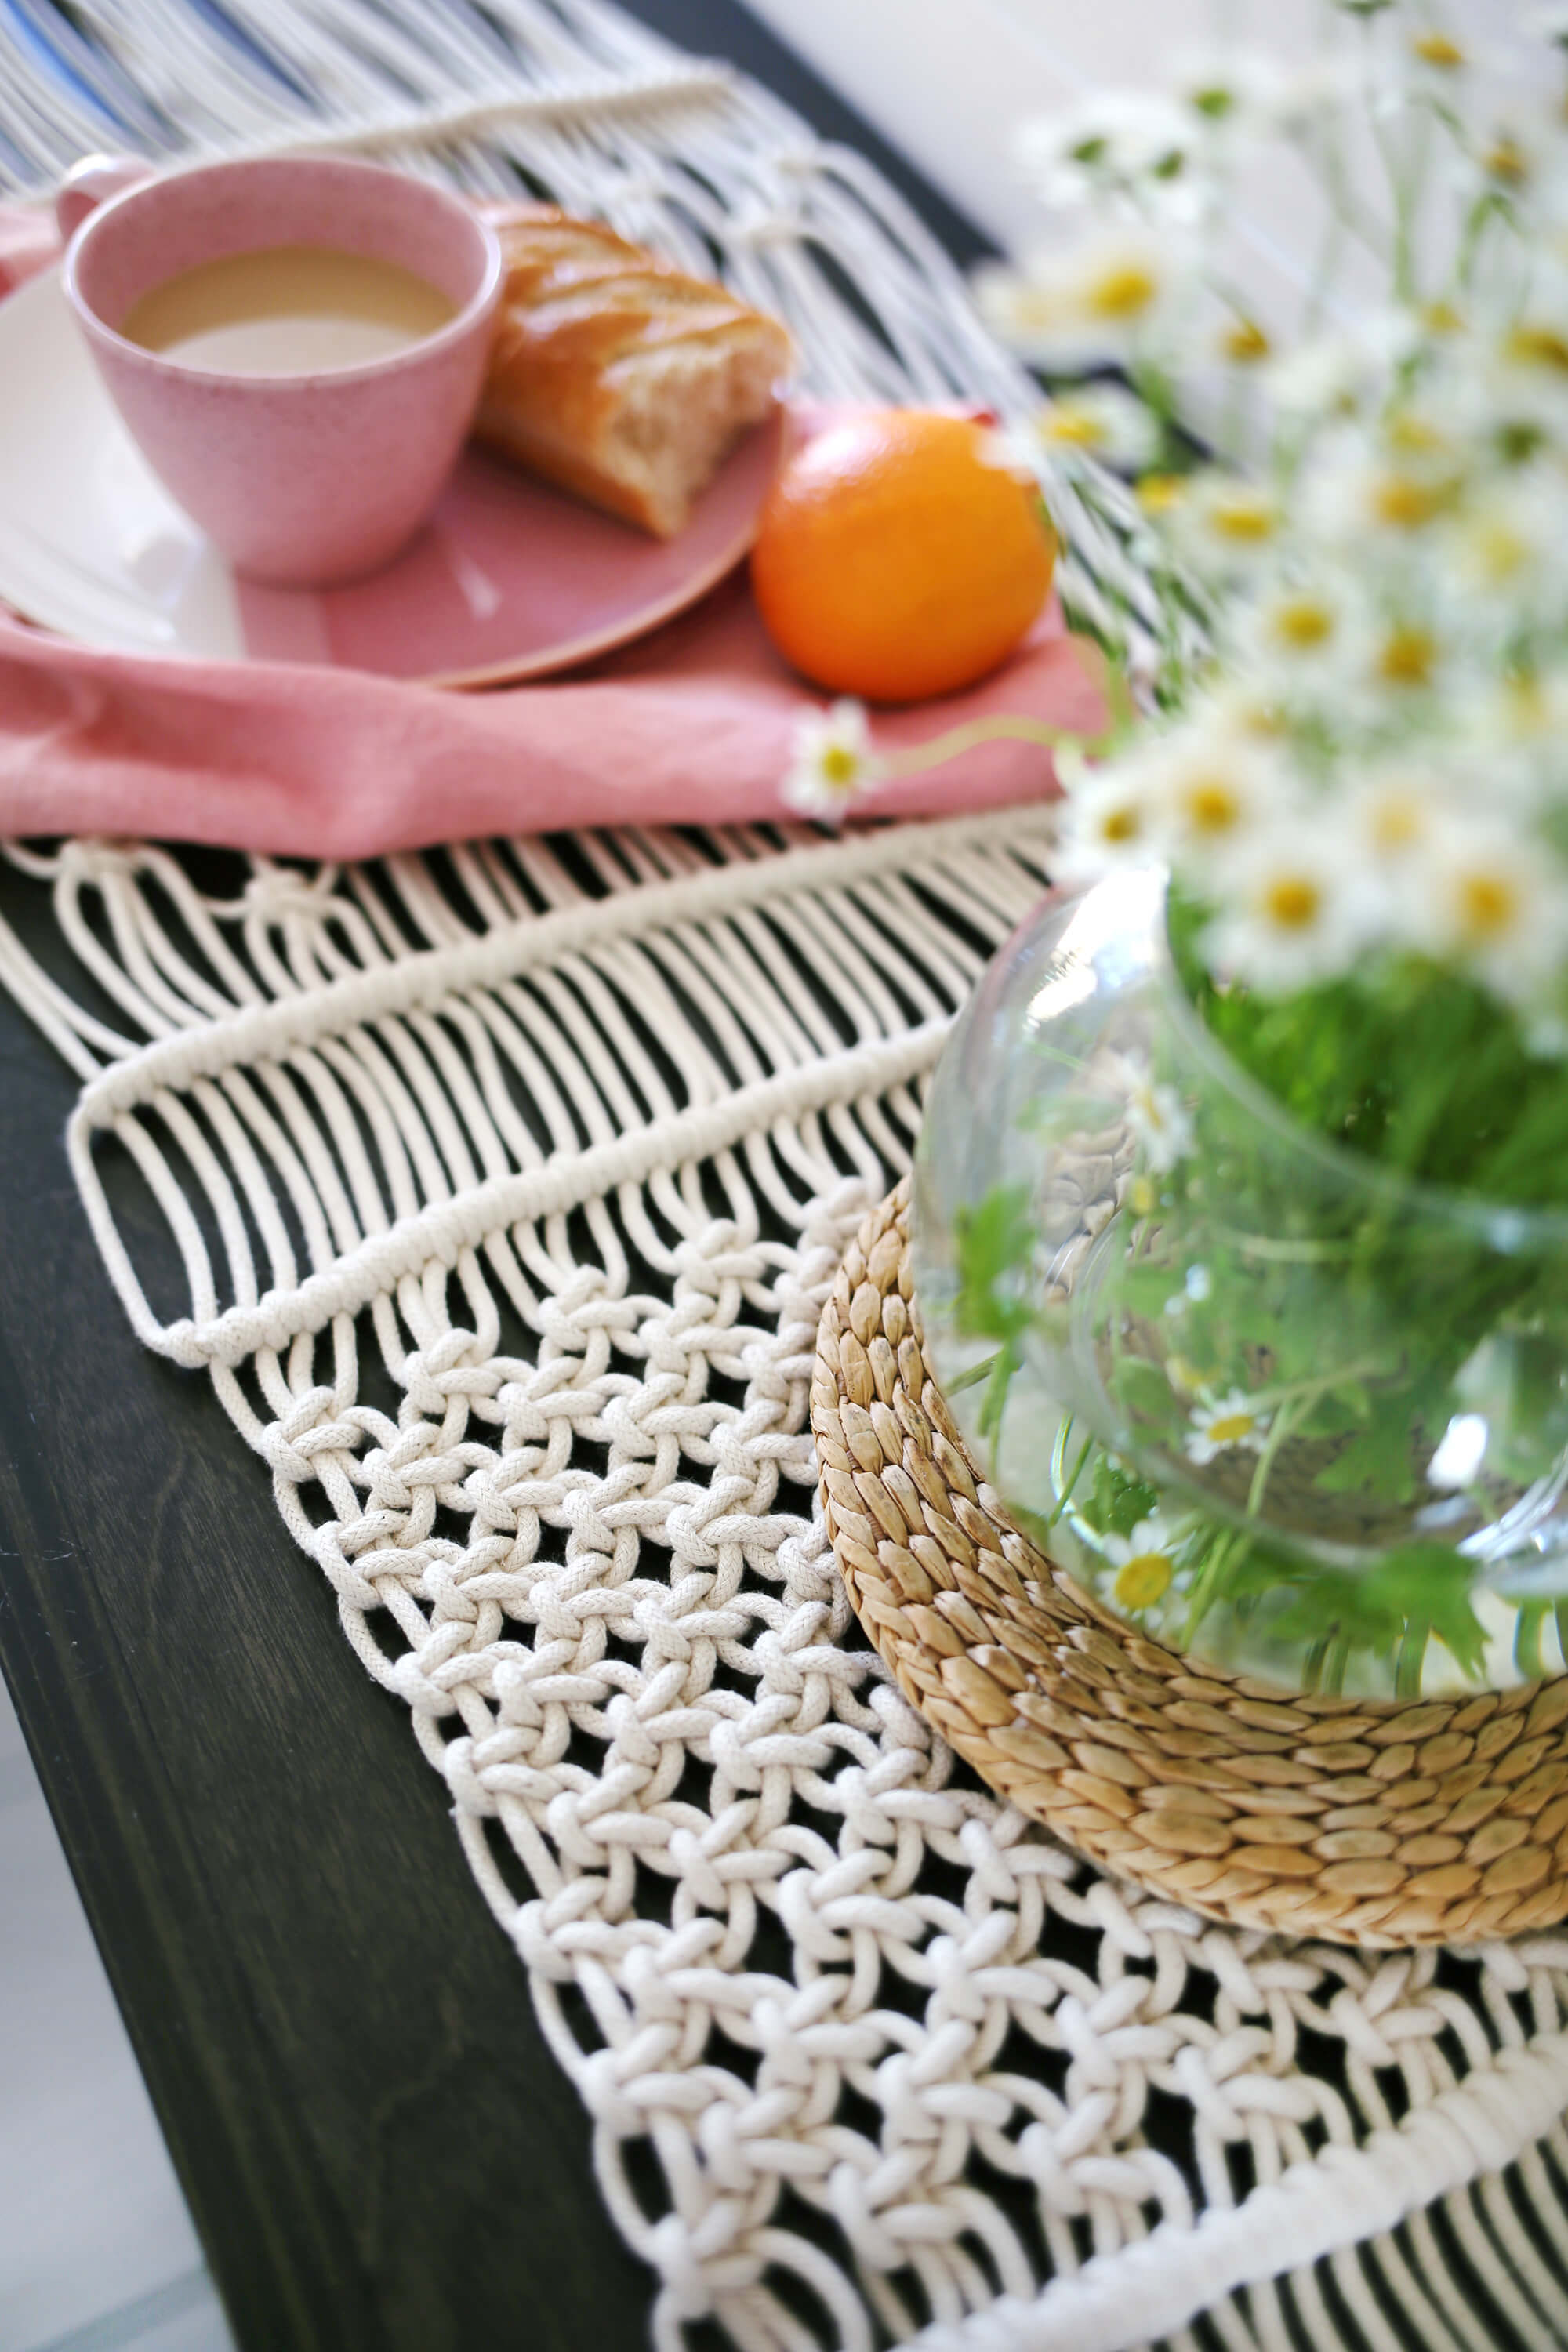
Styling a room starts with mixing textures, hues, and scale for visual interest. Beyond those three layers, I look for pieces that flex with different seasons. This bohemian-style table runner hit every mark, transforming a snug breakfast corner with its understated yet eye-catching weave.
Master three foundational knots and you'll have a timeless accent ready for any occasion. Once those techniques click, you can resize the runner for your own table, swap the layout, or branch out into a woven wall piece.
Materials: -12″ wooden dowel –22 pieces of 3mm cotton cord, each 16′ long –over-the-door hooks -2′ cotton twine to suspend the dowel -scissors
Step One: Secure twine to either side of the dowel and suspend it from your hooks. Halve your first 16′ cord and fasten a lark's head onto the dowel. Follow this guide for a closer walkthrough.
Step Two: Repeat the lark's head attachment with every 16′ cord until all 22 are looped on, yielding 44 working ends.
Step Three: Sweep the far-right cord across the front of the remaining strands toward the left, letting its tail rest on the door hook. This strand becomes the anchor for the upcoming half-hitch row, forming a horizontal band. With the strand second from the right, wrap a single half-hitch around the anchor roughly 6″ beneath the dowel.
Step Four: Loop the same cord once more around the anchor strand to complete the half-hitch.
Step Five: Confirm the spacing and tension stay uniform across the row.
Step Six: Mirror the half-hitch on the second, third, and fourth cords from the right edge, snugging each one down. The horizontal half-hitch pattern will begin to emerge.
Step Seven: Work across the full width, knotting each cord in turn. Avoid pulling so firmly that the piece cinches at the outer edges.
Step Eight: Return to the right side and use the outermost four cords to tie a square knot roughly 1.5″ under the horizontal band. Browse the stocking tutorial for a square-knot refresher.
Bypass the following four cords (five through eight) and tie another square knot with cords nine through 12. Continue the skip-four, tie-four rhythm until you reach the other end.
Step Nine: Back at the right, take the skipped set of four (five through eight) and tie a square knot about 3″ below the dowel.
Step Ten: Repeat that skipped-strand square knot pattern down the entire row.
Step Eleven: Set the outer two right-side cords aside. With cords three through six, form a square knot roughly 11″ below the horizontal band from step seven. Then tie the following four cords into a square knot approximately 1.5″ above the prior one.
Step Twelve: Carry the sequence across the row as pictured. Leave the final two cords untouched.
Step Thirteen: Starting on the right once more, build another row of horizontal half-hitches by repeating the process from steps three through seven.
Step Fourteen: Shift to the left side, grab the same anchor cord, and lay down another horizontal half-hitch band about 2.5″ below the previous one, working left to right this time.
Step Fifteen: On the left, add a full row of square knots (no skips) sitting roughly 1″ under that horizontal band. Then start the second row by skipping the first two cords on the left before knotting a full row of square knots. This is the alternating square-knot pattern. Keep these rows snug—there shouldn't be much daylight between them.
Step Sixteen: Continue until you reach roughly 13 alternating square-knot rows. This block forms the heart of the runner, and the sections that follow will mirror what you wove above.
Step Seventeen: From the far left, add another horizontal half-hitch band, working right.
Step Eighteen: Drop down about 2.5″ and, using the same anchor cord, build another horizontal half-hitch row, this time moving right to left.
Step Nineteen: For this pass, skip the outer two cords on the right, then tie a square knot with cords three through six. Skip seven through ten and knot eleven through fourteen. Continue skipping every four cords. Six cords will remain on the left.
Skip rows one and two on the left and tie cords three through six into a square knot about 1.5″ under the last square-knot row. Skip the following four cords and finish the second square-knot row. You'll be left with six spare cords on the right.
Step Twenty: Measure 11″ down from the final horizontal band and tie a square knot with the outer four cords on the right. Knot the next four into a square knot roughly 1.5″ above that one.
Step Twenty-One: Repeat across the full width.
Step Twenty-Two: Finish with a final horizontal half-hitch band roughly 1.5″ below the alternating square-knot section. Trim the tails to your desired length, matching the opposite end. Untie the twine from the dowel and gently slide off the lark's head loops. Snip the center of each lark's head loop and tidy the ends.
Your table is ready for a charming refresh!
The middle of the runner is the perfect landing spot for a centerpiece—layer in a trivet and tuck in fresh blooms to draw the eye. It also doubles as an oversized placemat along a breakfast bar, giving your kitchen a polished feel. The three knots covered here—lark's head, half-hitch, and square—open the door to endless textured wall-hanging variations. – Rachel
Want a pop of color? Explore Modern Macrame's gorgeous 3mm and 5mm dyed cord options.