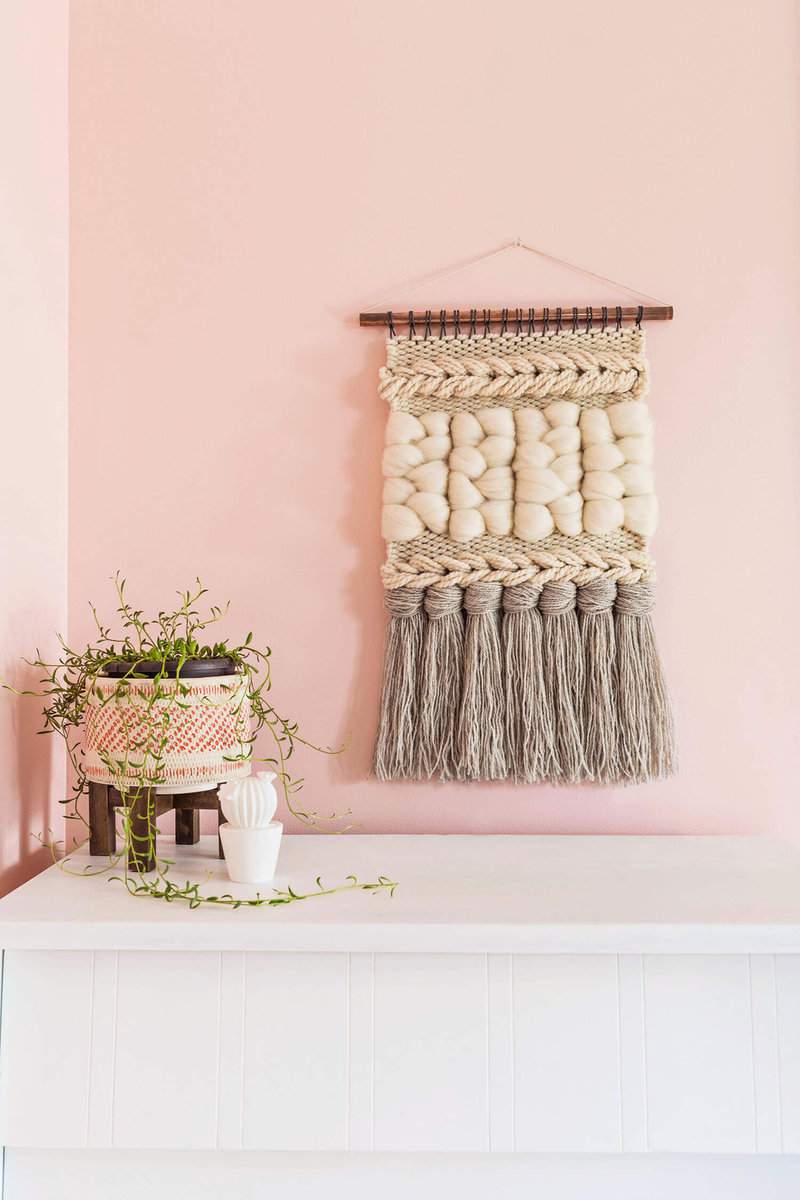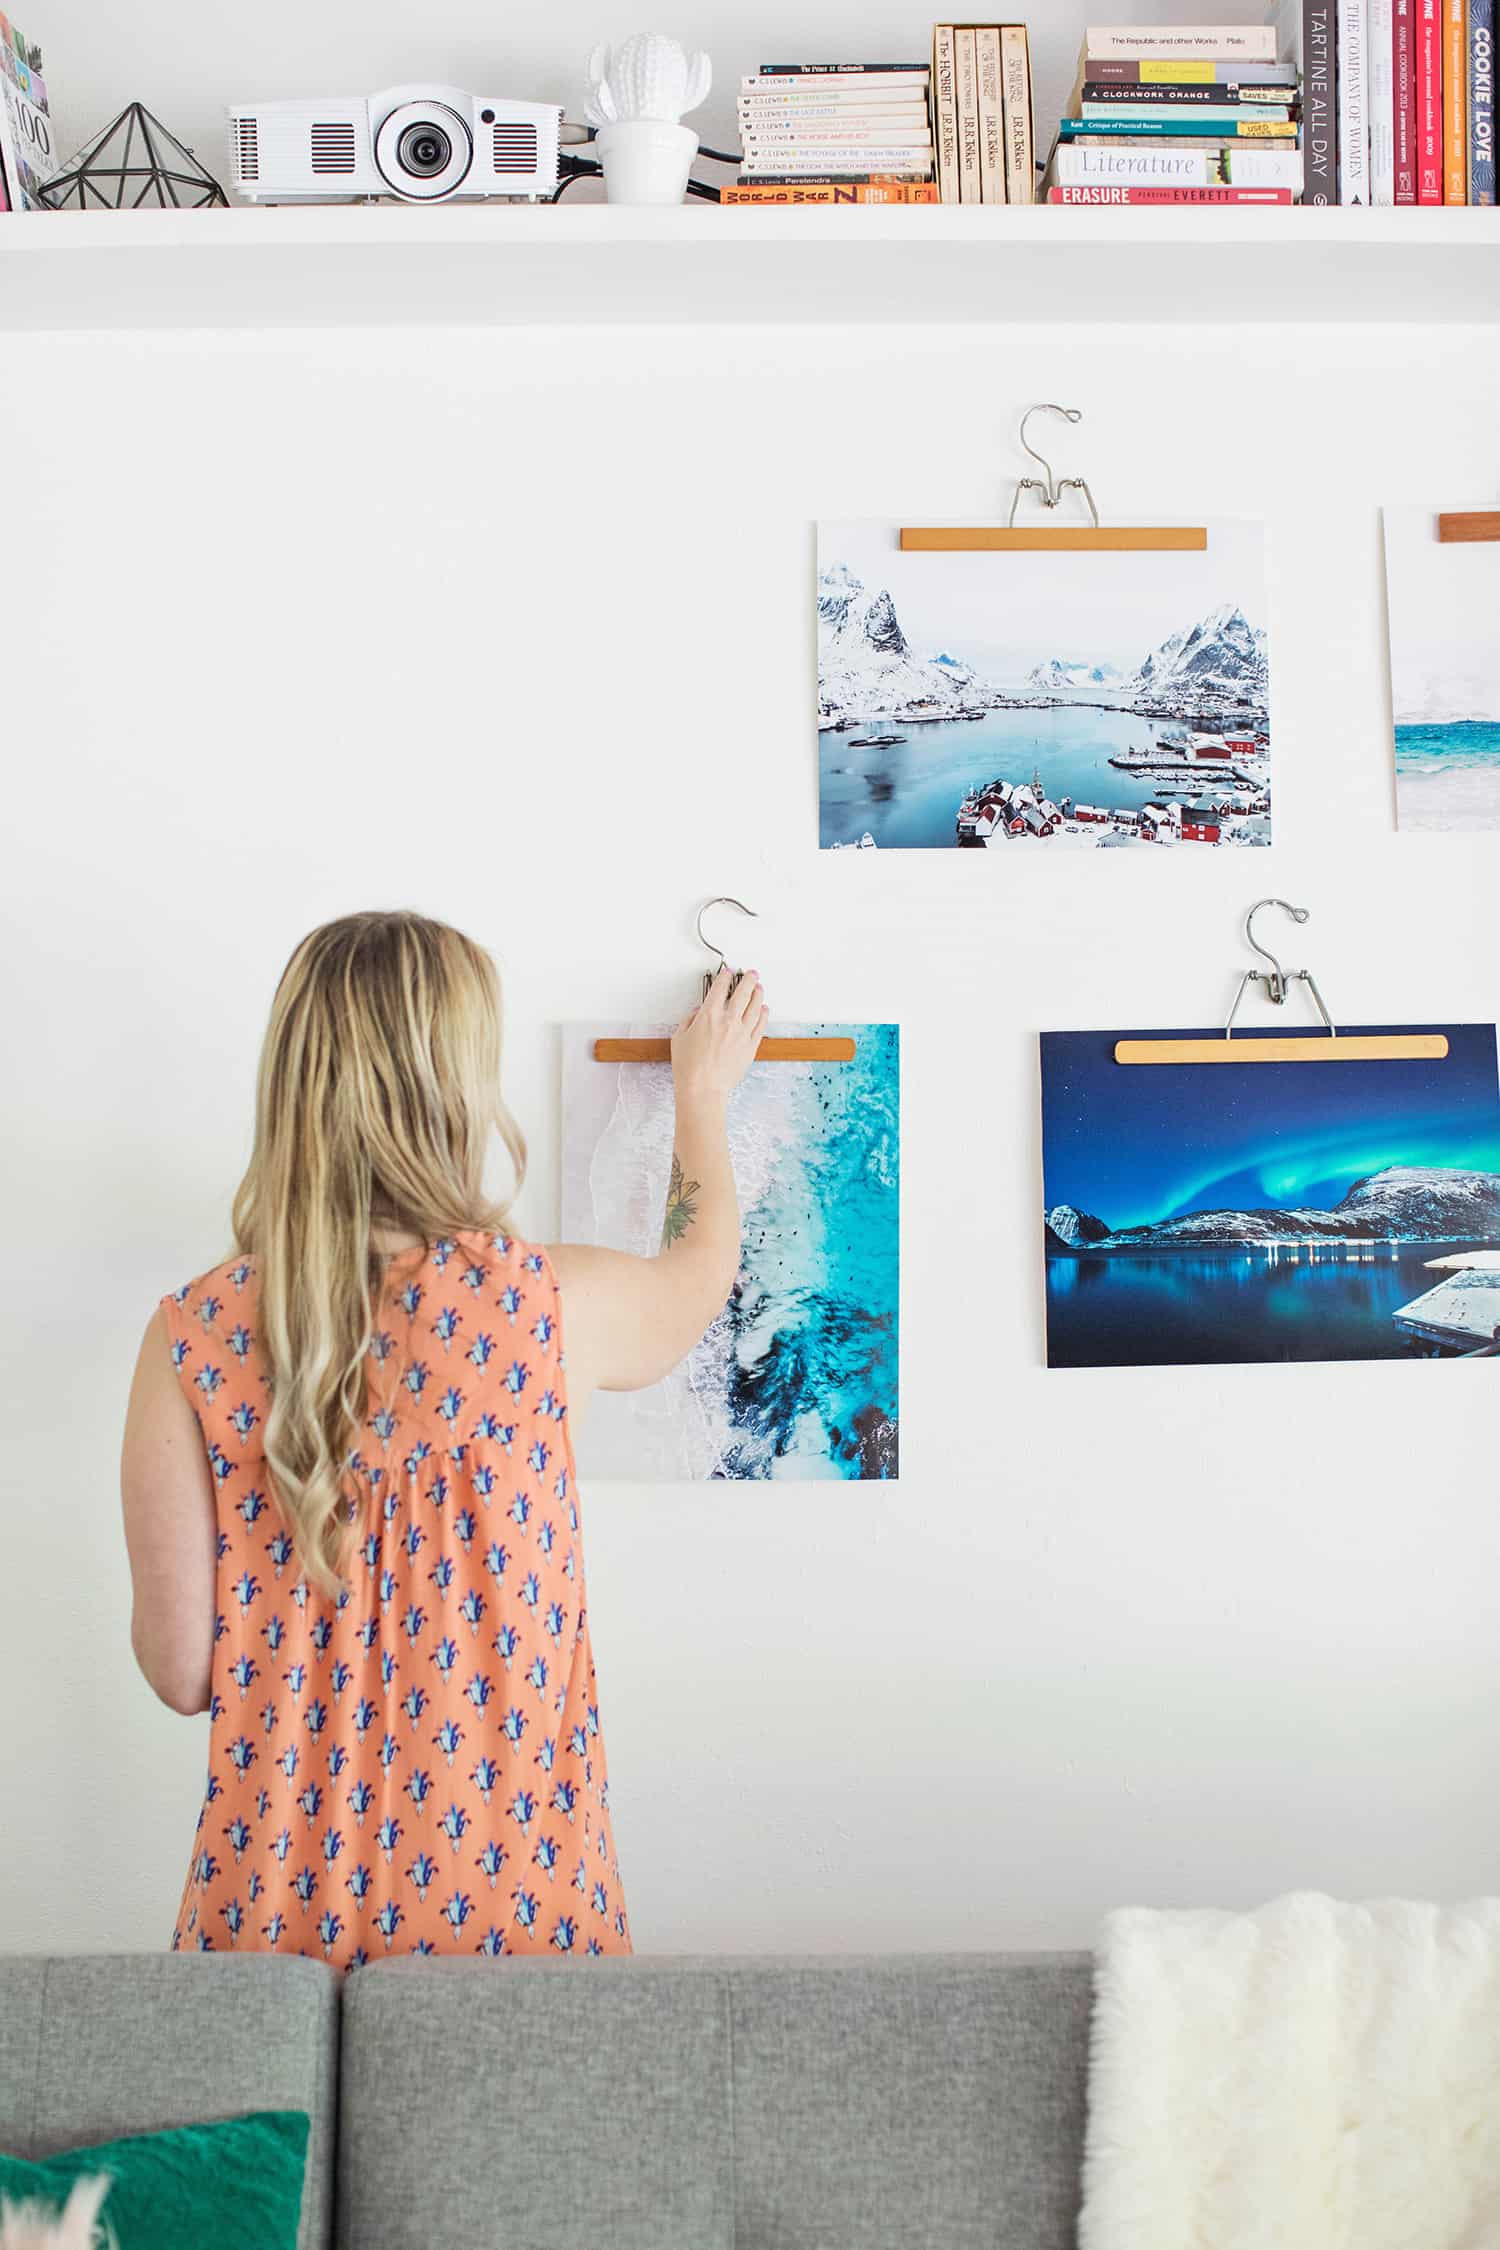
Our living room features a small gallery wall, and I thought I'd walk you through the details. For a unique spin on conventional framing, I swapped out store-bought frames and opted for wooden clothes hangers instead. The finished aesthetic totally won me over! I spotted an online shop marketing these "frames" (essentially a clothes hanger repackaged as a frame) for roughly twenty dollars. While that price isn't outrageous, it became clear pretty fast that this was a budget-friendly build. I went ahead and made them myself—five of mine came in at about the same cost as a single one from that site.
This compact gallery wall came together as a partnership with Canon USA. I recently upgraded to a PIXMA iP8720, which is exactly what allowed me to produce these oversized, vibrant photos right from my desk. Elsie has owned an iP8720 for some time now (you can check out her past projects using hers here and here), and I've always been impressed by both the generous print dimensions and the exceptional clarity it delivers. It shines when printing photographs or art prints you want to show off, much like I did with images from our recent getaway to Norway. ?
Putting these together is incredibly easy, and you won't need any crafting background to pull it off! That said, simply slipping a photo between the arms of a wooden hanger didn't produce the results I'd hoped for. I discovered fairly quickly that to keep the picture securely in position and shield it from any grooves inside the hanger, the project required an extra step. I tested several materials along the way, and I'll break down the options below in case you plan to display a few prints this way too. ?
Pictured here is the PIXMA iP8720. As you can tell, it's a bigger unit than my PIXMA TS8120 (shown here), but check out those gorgeous tones! I'm a huge fan of this printer's output quality, plus it handles prints up to 13×19 inches!
I ended up trying three different materials along the inner edge of my wooden hangers before settling on the winning option. My experiments included felt, shelf liner (comparable to rug padding), and craft foam. By the way, I'd suggest browsing thrift shops or even Etsy for wooden hangers if you don't already own some. I frequently find them at thrift stores, bundled in large mixed bags, sometimes priced as low as one or two dollars for the entire bag! It's worth a look, though buying new works fine too.
Felt felt like a sure thing—turns out it wasn't! Ha. The felt actually struggled to grip the prints effectively. If your hanger happens to be on the snug side (brand new or close to it), felt might still serve you well since your prints won't have much room to shift. However, for well-worn, older wooden hangers (similar to mine), they tend to sit a bit looser, meaning a heavier or larger print is likely to slide down inside.
Shelf liner was my next test. I felt pretty ingenious picking up a roll to experiment with, but it proved to be the least effective choice (actually the worst performer of the bunch). The textured surface of the liner pressed tiny marks into the print. That's not catastrophic, since you can always reprint, but if you—like me—enjoy rotating your photos throughout the house (shifting them between frames every so often), you won't want to risk damaging them in the display. I'd steer clear of this material.
My final test—spoiler alert, the clear winner—was craft foam. You can grab sheets of it in the children's craft aisle of any major craft retailer or even at stores like Walmart. It held the prints firmly in place without causing any harm. So this turned out to be the top performer with the vintage wooden hangers I was working with.
Below is a brief video tutorial showing how these frames come together—it's incredibly straightforward!
I used super glue to bond the foam to the wood. And I went with glue dots (which are acid-free) to mount my prints onto the poster board.
That leads me to the second observation from this project. After a couple of days, I noticed my prints starting to curl slightly along the bottom edge, away from the wooden hanger. This could be tied to the humidity levels here in southern Missouri, where summer weather is rolling in and things get pretty muggy. If humidity isn't a concern where you are, this may not even come up. But if it does, I'd suggest backing your prints with poster board before hanging them up.
I'm completely smitten with how the prints look paired with these hangers. Plus, the entire project wrapped up in about an hour. If you want something with a bit more complexity, don't worry! Check out these alternatives: Floating Acrylic Frame DIY, Poster Hanger, or Wood Burned Photo Frames. Thanks for stopping by! xo. Emma
Credits // Author: Emma Chapman. Photography: Janae Hardy and Emma Chapman. Video: Jared Statler. Music: Jeremy Larson. Photos edited with A Color Story Desktop.
abeautifulmess.com