by Erica in D.I.Y.
I’ve recently fallen head over heels for a new craft: latch hooking! It all began when I stumbled upon a gorgeous color palette saved on my desktop—a mix of blues, blush, rust, and ochre. I wanted to bring that palette to life as a three-dimensional piece of art for our bedroom, and a wall hanging seemed like the perfect medium. Latch hooking has been on my to-learn list for a while, thanks to the incredible weavings of tapestry artist Judit Just. That stunning color combo finally pushed me to binge-watch YouTube tutorials on latch hooking 101. To my surprise, the technique is incredibly simple, and even better, it requires very few tools and supplies! I’ll admit, it can get a bit repetitive, but the final result is totally worth it. Pro tip: time flies when you’re binge-watching your favorite show while working.
What You’ll Need
For this project, I prefer buying yarn in hanks rather than skeins—it cuts down on prep time significantly. You’ll be working with lots of even-length yarn pieces. With a hank, simply untwist it and cut the circle in half. For the lower sections of the weaving, I leave the lengths long. For higher sections, I eventually cut the halves into quarters or eighths. A key tip: only cut what you think you need—you can always cut more. I usually start with just one hank and go from there.
The essential tool is, of course, the latch hook. This clever device uses a hinged hook to create a knot in seconds.
Start by folding a piece of yarn in half (I like using two strands at once for a thicker, fuller look). Slip the hook through the middle, pulling the folded yarn over the base of the latch hook.
Push your latch hook up underneath the first square where you want to place the yarn. Keep pushing until the latch sits just above the bottom line of the square. Pull the yarn up and to the left, keeping it under the latch.
Pull the yarn to the right, between the latch and the hook, then wrap it around the back of the hook.
Gently pull the latch hook tool downward—the mechanism will close. Keep pulling while maintaining tension on the yarn with your other hand.
Continue pulling, and the latch will slip through the square, creating your knot. It may take a few tries to get the hang of it, but once it clicks, the motions become faster and easier!
Building the Design
I like to start with an even base, filling every square along the bottom edge. Then, using longer pieces, I add sections randomly. This gives the piece a nice, fragmented look and saves money on yarn—by skipping rows, you use far less without anyone noticing.
After completing a few sections, trim the ends. I prefer trimming each section flat across the bottom to emphasize that piece-y look.
When you move on to shorter segments, make sure to start at a row where the yarn will cover any empty spaces.
Since I didn’t map out the design beforehand, I jump back and forth between the left and right sides to feel out the composition. I also trim sections as I go!
Creating a Short Pile
If you want a super short pile, you need to fill every square. You don’t need long yarn cuts—a 2 1/2″ piece is enough. In fact, you can even buy pre-cut yarn online to make the process even easier.
Push your latch hook up underneath the first square where you want to place the yarn. Keep pushing until the latch sits above the bottom line of the square. Pull the yarn up and to the left, keeping it under the latch. Then pull the yarn to the right, between the latch and the hook, and wrap it around the back.
Gently pull the latch hook tool down until the latch closes. Keep pulling, keeping the yarn taut, until the latch slides through completely and the yarn is knotted.
Take sharp shears and trim across the top to create a short, even pile.
Continue adding yarn until you reach the top.
Finishing the Hanging
Be sure to leave at least one extra row of canvas at the top to finish your piece. If you finish before reaching the top, simply trim away any excess canvas, leaving one empty row attached.
Fold that row over to the backside. Cut 10–12 pieces of yarn, each 4″ long. Thread a piece through a square on the top row from the front, through the folded back, and back through an adjacent square.
Tie the ends into a knot and pull the tie to the backside. Continue adding ties, spacing them evenly.
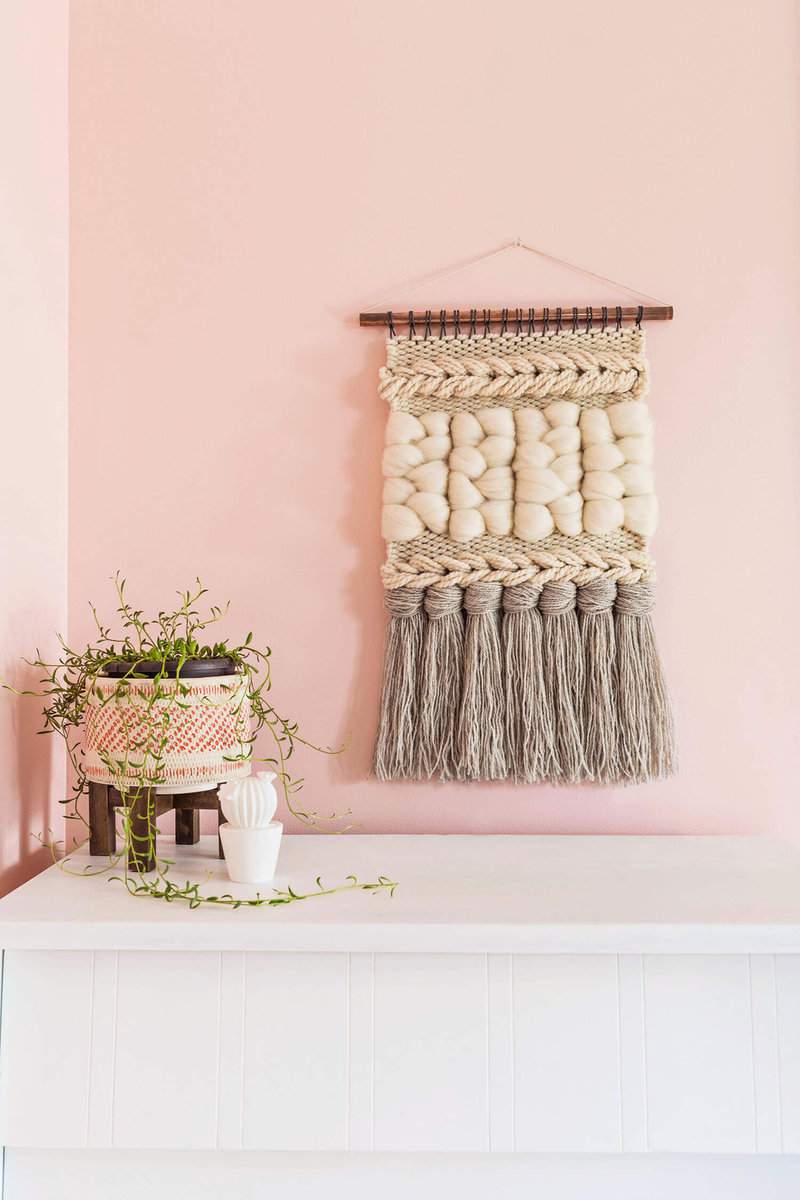
Thread your wooden dowel through the ties, and your weaving is ready to hang!
(images by HonestlyWTF & Andrea Posadas)