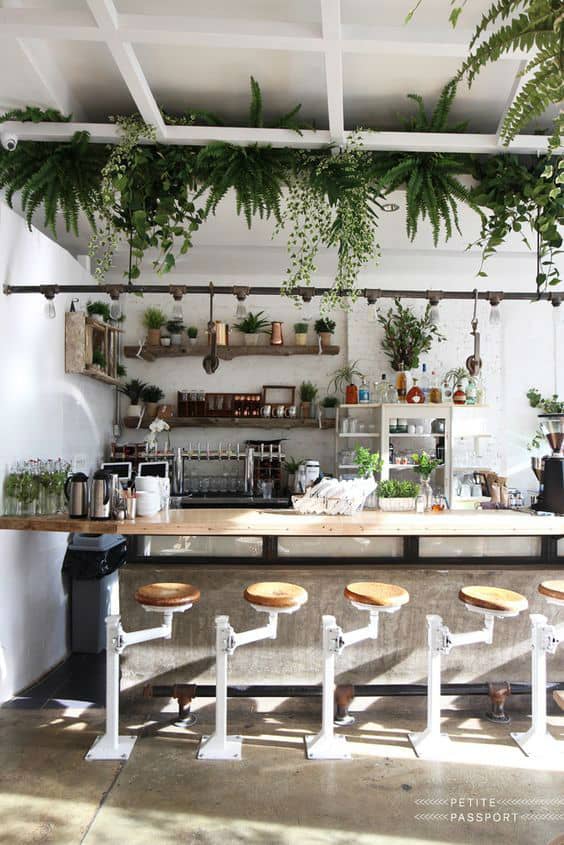
I absolutely loved putting this lamp together! Once I had everything I needed, it was incredibly quick to assemble. The greatest feature of this design is that you can fill the glass base with virtually anything—photos, starfish, rope, mercury glass beads—the possibilities are endless! I opted for rope because the lamp that sparked my idea had it, but now I'm considering adding a starfish too.
The lamp that inspired my project was at Hobby Lobby, priced at $100. Sure, I could wait for their 50% off sale, but there's no guarantee it would still be on the shelf. I spotted a similar one at Home Goods last night, but these lamps fly off the shelves—they're in high demand! If you can't snag one at a reasonable price in-store, you can build your own for under $50.
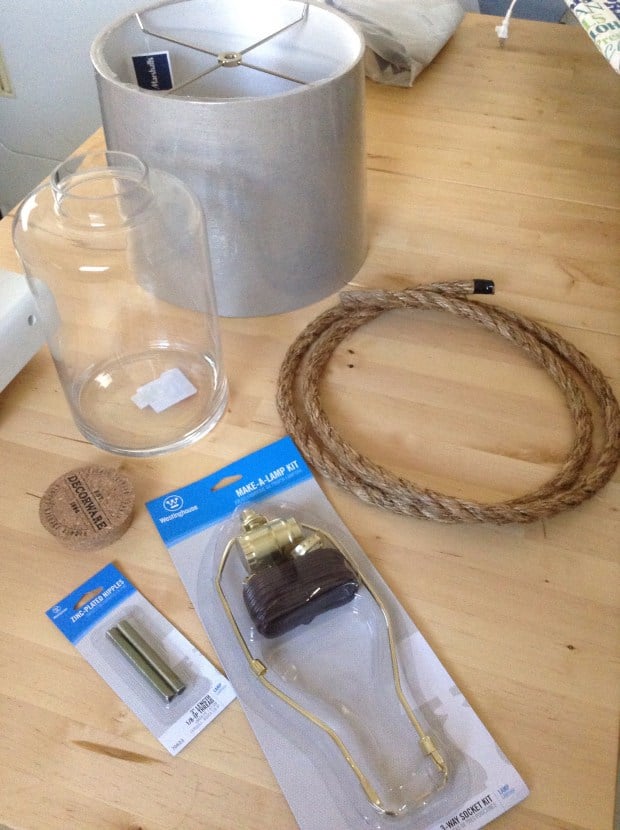
I scored my glass vase on clearance at Home Goods for just $5. The lampshade came from Marshall's for $15. The light kit was $13 at Home Depot (plus $3 for the extra nipples), and the rope was 6 feet long from Home Depot for a little over $4. I plan to buy an 8-inch harp instead of the 10-inch one that comes with the kit, which is too tall and might help reduce wobbliness. I'll also look for rubber grommets to cover the hole where we drilled into the glass, but for now I'm not concerned. Once my next DIY project is finished, this lamp will find a permanent home where it can sit undisturbed.
You will need:
- A light kit
- Extra light kit nipples
- A lampshade
- A glass vase
- Cork
- Rope (or other decorative items)
- Glass drilling drill bits
The cork I used came from a candle I was about to clean out for another use. It fit my vase perfectly, though I had to carve it down a bit. Warning: Carve the cork so it slides snugly into the vase. The lamp will be slightly top-heavy and wobbly when moved, so keep it out of reach of small children.
To carve the cork without it crumbling, place it in a metal strainer over boiling water for several minutes (or in a whisk if you don't have a strainer). Carve it immediately after steaming.
Next, gently drill a hole in the top of the cork that tightly accommodates the nipple piece from your lamp (the long, rounded threaded part that everything attaches to).
While you're at it, drill a hole at the base of your lamp where the cord will exit, using your special glass drilling bit.
Thread the cord through the hole at the base and up through the nipple. Assemble the lamp following the instructions on the back of the kit.
Finally, place the cork in position and put the lampshade on—you're done! It's that simple!
Tags: DIY filler lamp DIY lamp DIY nautical lamp